 |
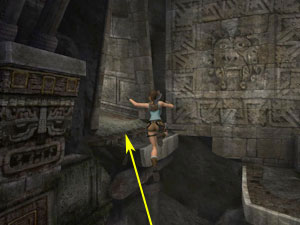
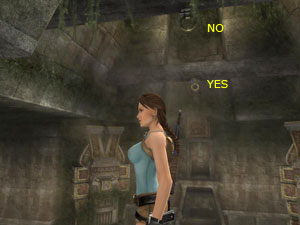
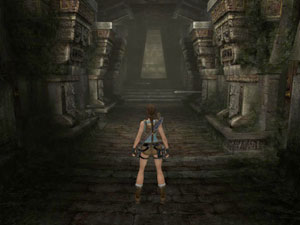
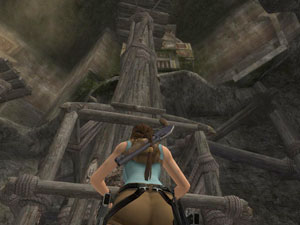
Before you enter the tomb, you can jump directly from the last vertical structure to the ledge on the left. When you grab it, traverse a bit to the right, and then pull up. Otherwise Lara will fall down to the ground.
|
 |
 |
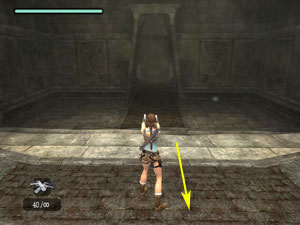
Once you trigger the boulder, roll over the edge, down into the pit, and grab the movable platform. |
|
 |
 |
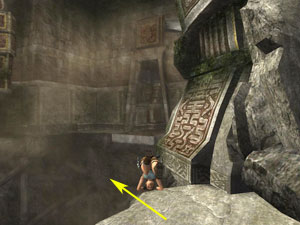
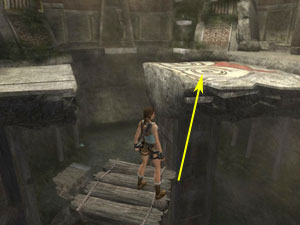
When moving the platform to the left of the entrance, it would be good if you leave it in the position shown on the screenshot to the left. Then when you make your way up to the central platform again, you can jump to this moved platform from there. |
|
 |
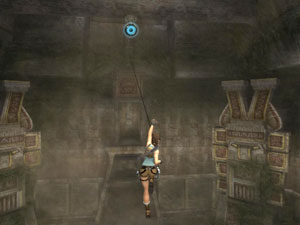 |
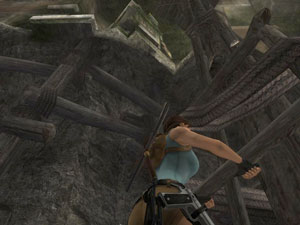
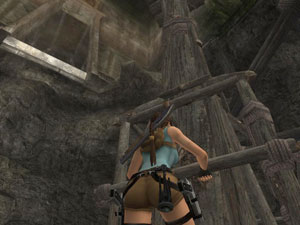
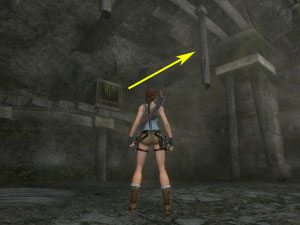
When you reach the highest ledge, do not grapple the first ring. Instead, grab the second ring. It is trickier, but it will save you some time. To successfully perform it, jump off the ledge and throw your grapple at the last moment, before you start to fall. |
|
 |
 |
These two screenshots show the fastest route through this hallway. Ignore the shooting darts, as they will only distract and slow you down. |
|
 |
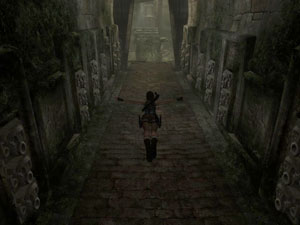 |
When you meet more darts, don't stop. Either outrun or swan dive over them. Repeat the process on your way back.
|
|
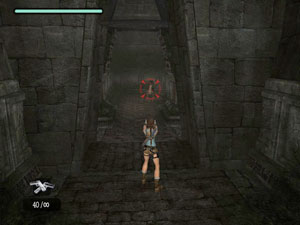 |
When you encounter the raptor in this hallway, either outrun it or kill it quickly. If you keep shooting at it, it will charge at you pretty soon, and then you can take it out with the adrenaline dodge (over it would be the best, as you would immediately continue on your way). Repeat the process when you encounter the second raptor. |
|
 |
 |
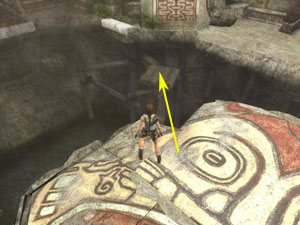
When moving the platforms to reach the second entrance, position them as pictured in the screenshots to the left.
|
|
 |
Once in the room with the collapsing floor, face the entrance you came from, draw your pistols and start moving Lara backwards. That way you will be able to shoot the wolves below as soon as you start to fall and slide down. |
|
 |
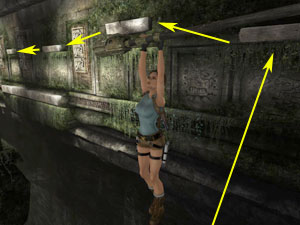
When you reach the movable cage, it is possible to reach the poles without going over the ledges. Just pull the cage out of the alcove to the edge of the ledge, move it a bit on the left, climb on it, and from there jump to grab the left pole (with cage's alcove being behind you). |
|
 |
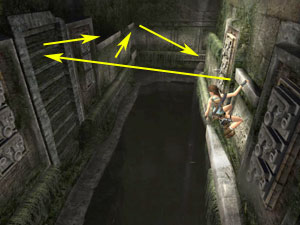
While exiting back in the main room, jump from the second movable platform directly on the central one. |